


Step 1
Replace your existing wheel.
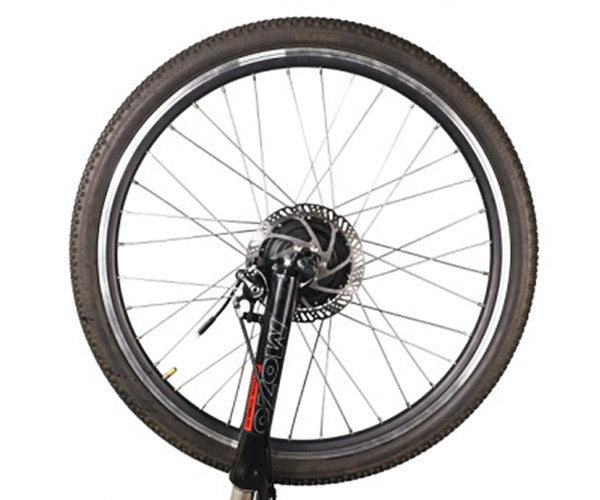
Unbolt and remove your old wheel

Put on the new motored wheel

Tighten the bolts. Check that the wheel is well secured and spinning freely.
Important notes:
- If your Original tire’s width was in the 1.5-1.95 Inch range. You should have no problems Installing the Conversion Wheel.
- Make sure that the Washers are installed in the correct order.
- The lining for the wheel is Pre-Installed so you only need to put on the inner tube and tire
- Install the Wheels so that they roll in the same direction as the Brake Disc.
- Finally, check that the Wheel spins freely without touching the Frame or the Brakes causing extra friction.
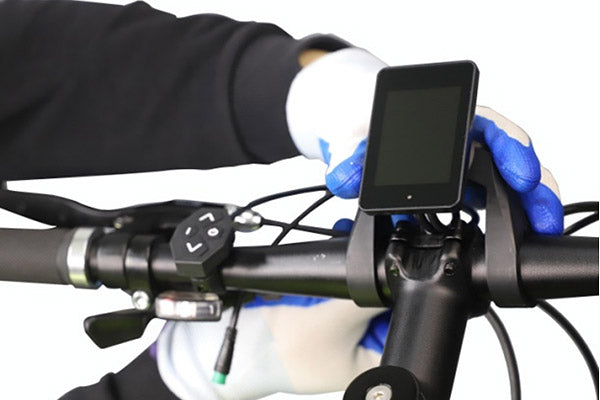
Step 2
Install Throttle, Display, Light, e-Brake sensor and Pedal Assist Sensor (PAS)
- You can choose to use the bike without the throttle (required in some EU countries), but if you wish to use the throttle please remove the grip from the handle and Install the Throttle on the left or right side of the handlebar.
- Install the Power Contoller and Display.
- Install the Headlight and the Rear lights.
- Install the Break sensor. Please check that the condition of the brake cable is in good condition and that the threads are straight. The sensor can be installed near the break or the handle. Please note that the sensor arrow needs to point in the direction where the handle is.
- Install PAS. Remove the left pedal crank with the Tool included in the kit and add the PAS. Reinstall the crank.
Note: the Kit includes many kinds of supports and screws to install the parts


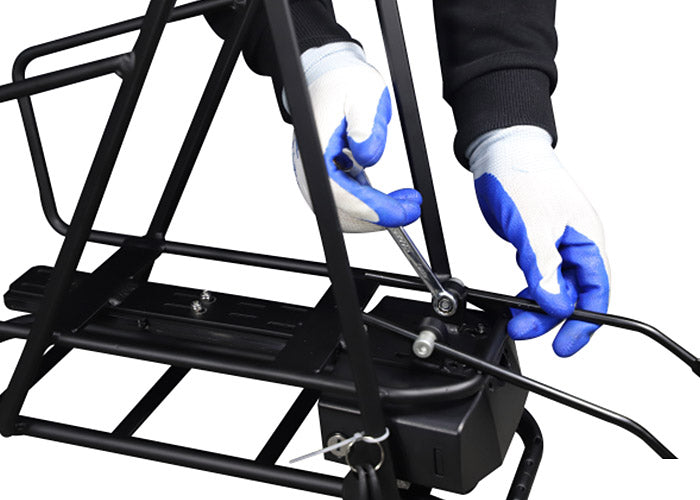
Step 3
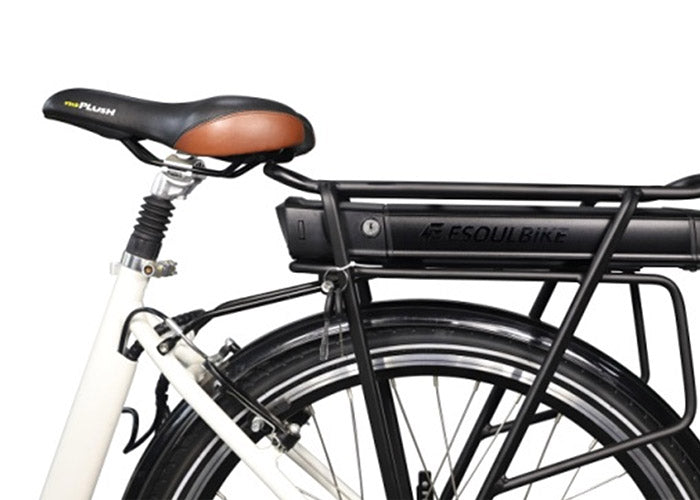
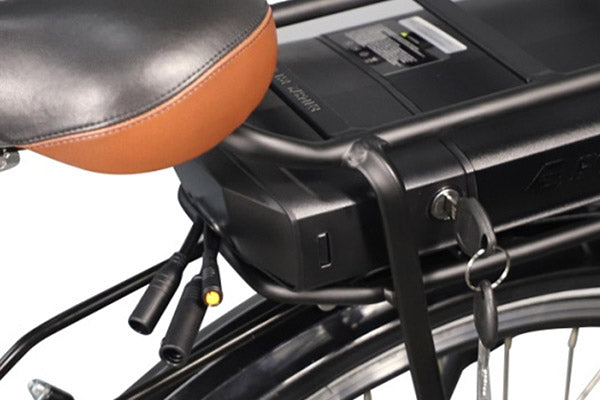
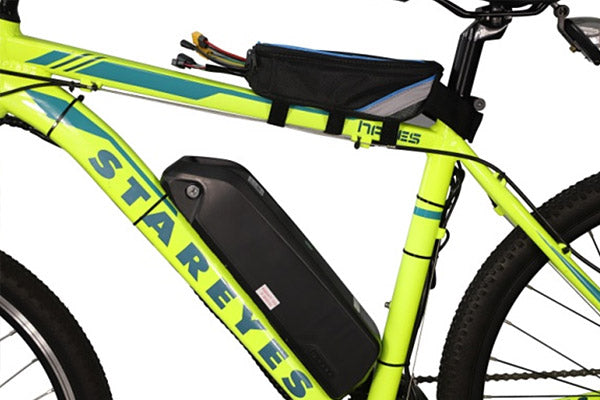
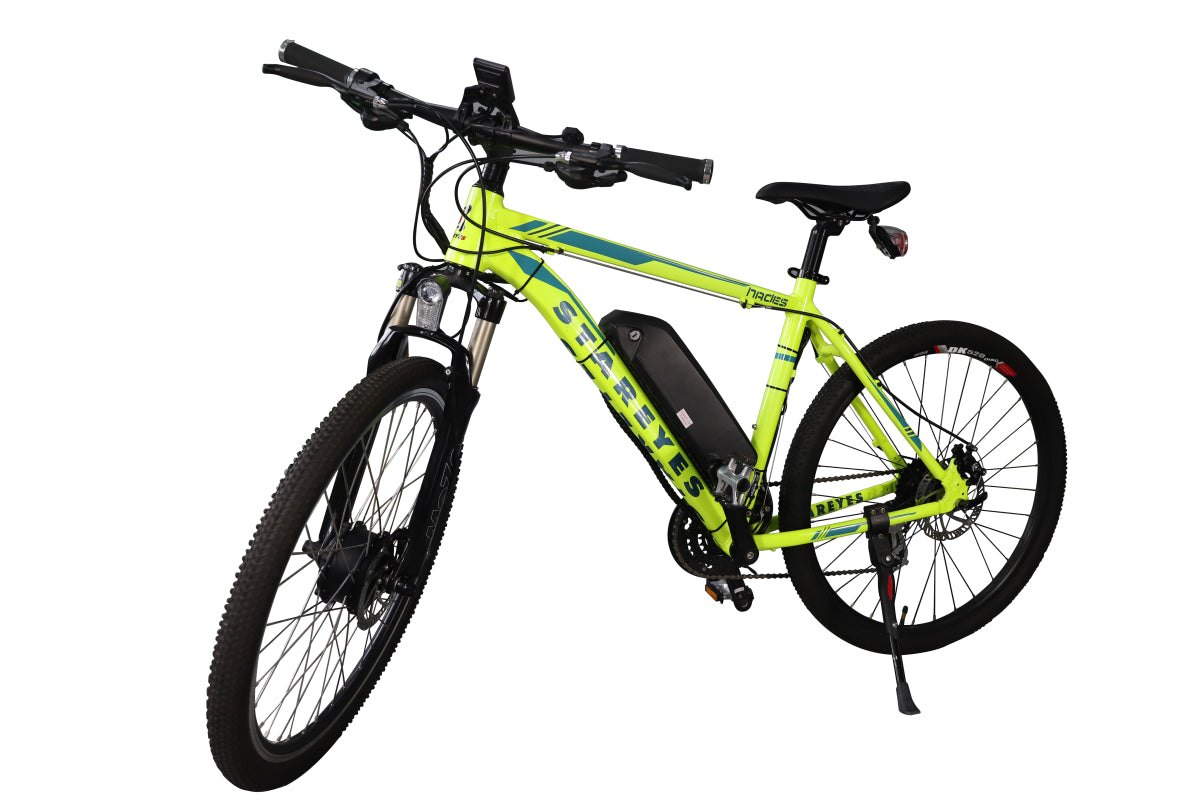
Install battery
Tube Battery Installation

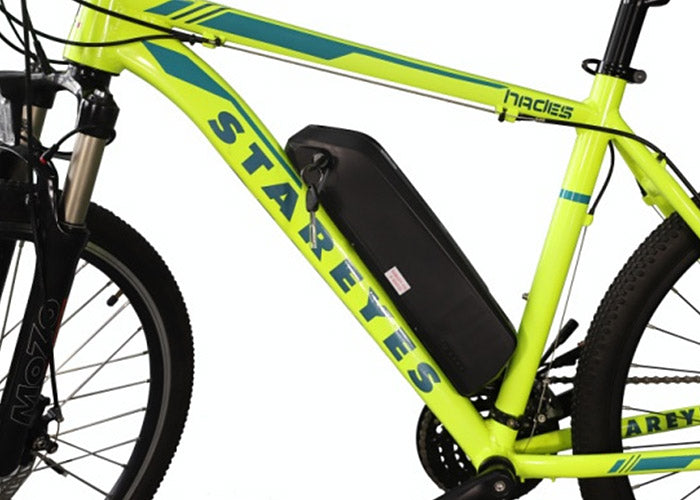
Rear Battery Installation

- For the Tube battery just screw it to the existing holes on the downtube. Check that there's enough space for the battery and the cables below.
- For the Rack battery please remove the existing one and replace it with the one included in the kit.
- After the Tube or Rackmount is installed just slide the battery in place and lock it.
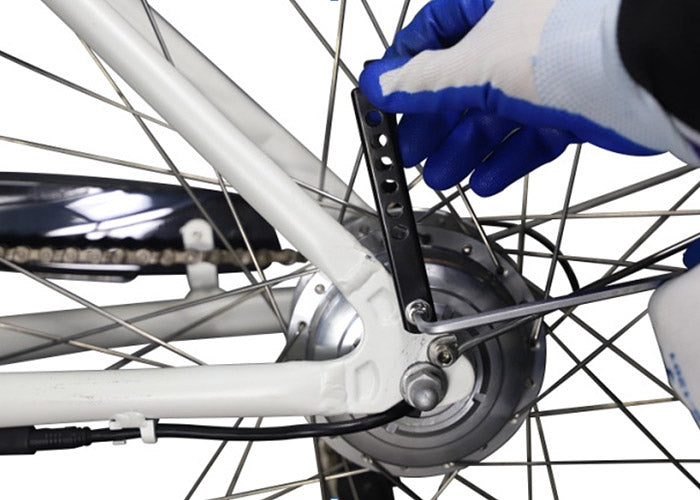
Step 4
Install the controller and connect the cables

- Left Picture: In the 250W models, the controller is built into the battery.
- Middle Picture: In the 1500W models, there's an external controller bag included in the kit. You can place it on the frame itself like the top tube.
- Please connect the cables and use the included ties and wrapping to fix them in place.
Done!
Time to Enjoy Your New eBike!
Looking Good!


